Showing posts with label Tutorials. Show all posts

Monday, April 18, 2011

Tutorial: Spring Fever: "Long & Short of It"

Maybe it's that the calendar says spring (although the temperature doesn't), or that the days are getting longer, or that the birds are singing more, something seems to be causing this spring fever itch.

My dad asked me if I could shorten the sleeves on one of his button shirts.  It's definately not because it's getting too warm (current temp: 34`F, tomorrow's forcast: SNOW).  Maybe he has run out of short sleeves, or maybe he's just bored with that shirt.  I don't know, I didn't ask.  I was happy to take on the challenge and have a project to do.

Shortening Sleeves


1. Pick out a short sleeve shirt to use as a pattern (if possible).  Iron both shirts well.  Wrinkles will not help in getting an accruate cut.

2. Lay short sleeved (SS) shirt on top of the long sleeved (LS) shirt.  Make sure to match the seam of the sleeve and the shirt on both shirts. (the plaid shirt is the shirt I am altering)

3. Cut 2" from end of SS.  This will give you enough room to make a double fold and end up with a nice finished edge.
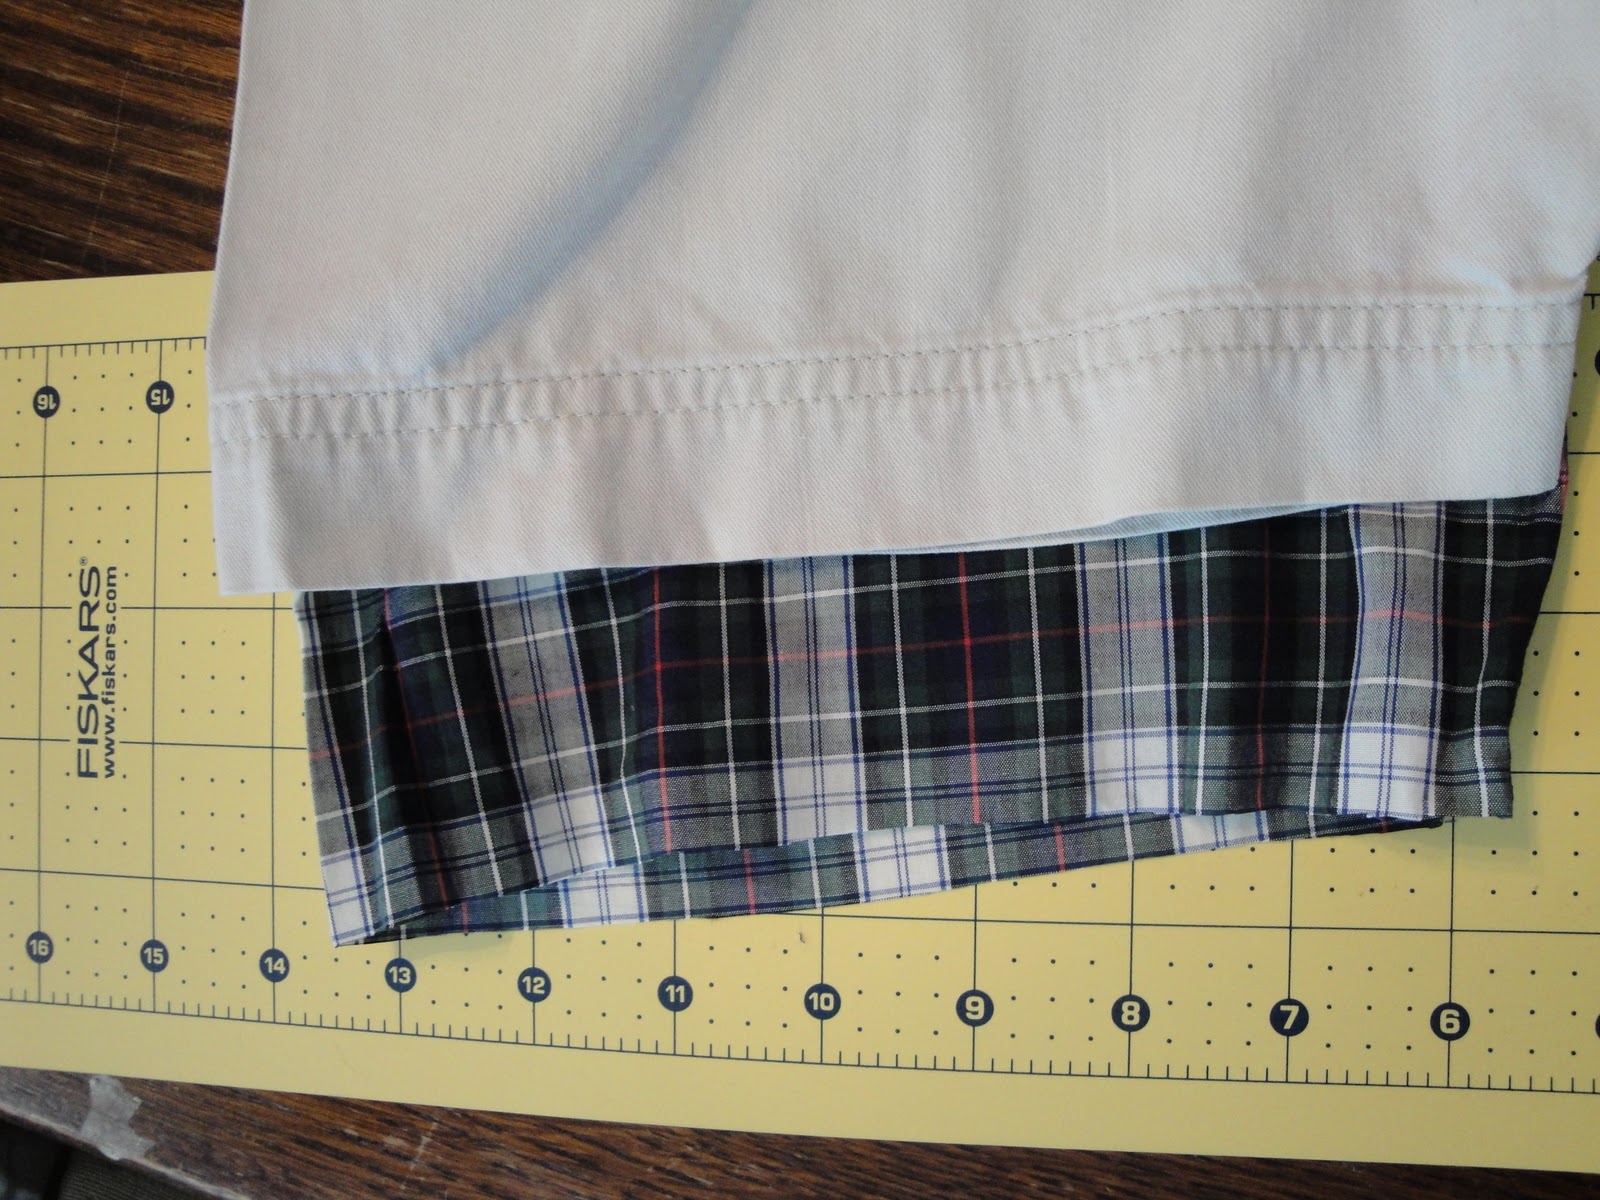
4. Fold and press a 1/2" and then again 1".  This is your new shirt sleeve edge.

5. Sew a double stitch seam.  This makes it look professional, and like you would find in a store bought shirt.


Oops, I forgot to take a BEFORE picture, you all know what a long sleeve shirt looks like...right? (I hope)


Of course I kept the leftover pieces of the sleeves.  You know I can't throw a good piece of fabric away, no matter how small.  I think it's the perfect pattern for those little "tie onesies." 

Tuesday, March 29, 2011

Tutorial: Altoids pincushin

I've been wanting to do this for a while.  I found an old stash of Altoid tins (I used to collect them...long story).  Every since I found them, I've wanted to do something useful with them.  Kind of a way of saying, "I told you I would need these someday," to my husband.  So, today, it all fell into place: Monkey went down for a nap, Goose is napping in her room being quiet, I finally had a moment to myself to get my craft on.  I just don't trust Monkey around the hot glue gun.  That would be just my luck, and then I would be banned from hot gluing anything by my husband.  Anyway, onto the good stuff...

(be gentle, this is my first time doing this...)

1.  Cut fabric to a 4 1/2 " x  5" rectangle.  This will give you enough height to stick pins in it, and enough to fold under the edges for a nice finished look.


This was before I cut my rectangle, so it's not to scale.
 2.  Fold and press a 1/4", first on the two long sides, and then on the two shorter sides.

3. Cut batting in a 9" x 10" rectangle.  This will make the thickness x4 when you stuff it later.


4. Start on a long side, hot glue the tin, not the fabric (that way if you want to redo it, it's easier to get the glue off the tin.  Plus it's just easier to handle.)  Attach the fabric to one long side and then the other.   Try to get the fabric as close to the lip of the tin as possible.  This is prevent any of the label color to show.


5.  Make sure you have glued the entire long side (all the way to the end of the fabric).  Then simply fold down one of the short edges and glue to the tin,leaving one end open.  Make sure you glue the corners too, otherwise they will flap around.  This makes a nice "giftwrap"  fold.


6.  Fold the batting to the size of the tin top.  Carefully stuff the batting into the "pocket", making sure you stuff into all corners.  Then follow the same technique as the other short side, and glue that end closed.

Ta-da!!!


And the best thing about it is that you can keep your pins in the tin!!!  Two-in-one, LOVE it!!  Pretty and functional.


Whoo, that was fun. Hope you like.